
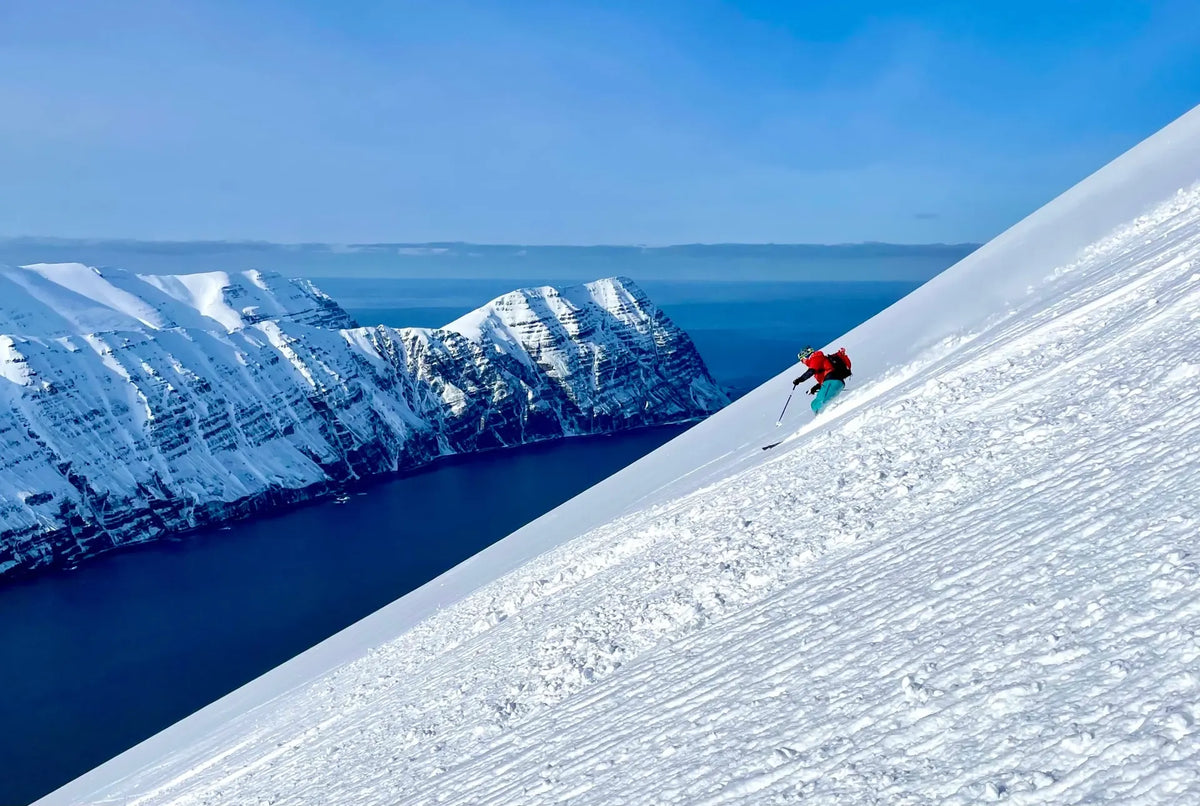
Mike spent over a decade skiing Vail and Beaver Creek before he ever strapped into a splitboard and headed into the sidecountry. His first serious backcountry day out — a boot-pack approach off the back of Vail Mountain into a steep northwest-facing chute — taught him something fast: what you put on your back matters just as much as the snow you're chasing. He was carrying too much in the wrong bag, his hip belt was digging by the second switchback, and he nearly left his probe at the car. He made it down clean, but the lessons from that day shaped how OutThere USA thinks about building packs for skiers who leave the lifts behind.
If you're putting together a backcountry ski backpack setup — whether you're new to ski touring or dialing in a lighter, more capable system — this guide covers what to carry, how to organize it, and which pack actually makes sense for your style of skiing.

What a Backcountry Ski Backpack Actually Needs to Do
A ski touring pack isn't a hiking pack with a ski strap bolted on. The demands are specific. You're moving uphill in layers, sweating, then transitioning to a cold descent. Your gear needs to be accessible without fully removing the pack. Your avalanche safety equipment has to be reachable fast — not buried under a lunch bag and a puffy jacket. And the pack itself needs to handle abuse: crampons, ski edges, rocks at the skin track, wet snow on a warm spring day.
Weight matters too, but not in a vacuum. A pack that's technically ultralight but bounces around on steep technical terrain, cuts into your shoulders under a heavy load, or doesn't have a proper hip belt is going to cost you more energy than a slightly heavier pack with real ergonomic support. The goal is efficient weight transfer, not just gram-counting.
The Core Safety Kit — Non-Negotiable
Before you think about pack size or features, get your avalanche safety gear sorted. Every person in your group needs three things, carried on their body or in a quickly accessible location:
- Avalanche transceiver (beacon) — worn on your body under your outer layer, never in your pack
- Probe — collapsible, at least 240cm, stored in an exterior or top pocket for fast deployment
- Shovel — a dedicated metal-blade avalanche shovel, not a plastic camp trowel. It goes in an accessible side or back panel pocket, not buried in the main compartment
Beyond the rescue kit, your pack should carry a first aid kit, emergency bivy or space blanket, navigation tools, repair kit for bindings or skins, headlamp, food, water (insulated to prevent freezing), and a communication device. If you're doing multi-pitch ski mountaineering objectives or winter camping approaches, that list grows considerably.

Choosing Your Ski Touring Pack — Size and Fit
Pack volume for backcountry skiing typically falls into three categories: fast-and-light day missions (15–25L), full-day or technical objectives (25–35L), and multi-day ski mountaineering (40L+). The right size depends on your objective, how many layers you carry, and whether you're doing a single-day approach or camping in the backcountry.
For skiers who like to move fast on mellow to moderate terrain — skin tracks, sidecountry access, resort boundary laps — the WC-15 15L Lightweight Versatile Backpack is a sharp option. At 37oz with a detachable hip belt system, it keeps you trim on the climb and organized on the descent. The YKK zippers hold up in wet conditions, and the water-resistant construction handles the abuse of spring slush or unexpected weather rolls. The detachable hip belt is genuinely useful here — strip it off when you're moving fast on easier terrain and clip it back on when you need the load transfer on longer approaches.
For bigger days with more technical gear — crampons, ice axe, extra layers, a proper first aid kit, emergency bivy — the WC-30 30L Adventure Racing Backpack gives you room to work with. The 30L main compartment plus 15L of external storage means you're not sacrificing organization for volume. The ventilated foam hip belt and ergonomic shoulder straps carry heavy loads well, and the rip-stop nylon doesn't flinch when you're bashing through wind-scoured ridgelines or strapping skis to the outside for a boot-pack section.
If your objectives push into ski mountaineering — multi-day approaches, glacier travel, hut-to-hut routes with significant vertical — the 45L Hiking & Backpacking Lightweight Pack handles the load. With 45L internal and an additional 15L external, built from either double rip-stop nylon or Robic Diamond fabric, it's a pack that can carry camping gear, a rope, mountaineering hardware, and enough food and fuel for days out without breaking down. At 4lbs 4oz for the base weight, you're not paying an outrageous penalty for the capacity.
And for skiers who want a secondary carry option — something to clip on for the descent after dropping their main pack at camp, or for fast sidecountry laps where you just need snacks, a beacon, and a layer — the HP-1 Hip Pack is a genuinely useful piece. At 11oz with two hip belt pockets, two water bottle pockets, and hydration compatibility, it's light enough that you barely notice it and functional enough that it pulls real weight on short missions.

How to Pack for a Ski Touring Day
Organization on the skin track is a skill. Pack your safety gear where you can get to it without taking the pack fully off. Skins go somewhere dry and accessible so they don't freeze during the transition. Layers should be easy to reach — you'll be pulling your shell on and off constantly. Food and water near the top. Anything you won't need until camp or the car goes at the bottom of the main compartment.
When you're strapping skis to the outside for a boot-pack section, make sure the binding hardware isn't catching on any load-lifter straps or back panel vents. Your pack's external attachment points should hold your skis stable — not swinging — or you'll be fighting them on every step.
"The skin track doesn't care how nice your pack looks. It cares whether your hip belt sits on your iliac crest, your probe is accessible in 30 seconds, and your water hasn't frozen solid by the time you need it."
A Quick Note on Layering Your Carry System
Some experienced backcountry skiers run a two-pack system for bigger objectives — a main pack for the approach and camp, and a lighter hip pack or small day pack for the ski descent itself. This keeps your ski-down carry minimal and your center of gravity clean for technical lines. The HP-1 hip pack and WC-15 work well together as a system for this approach. Explore the full OutThere USA packs collection to see how the lineup fits together across different mission profiles.
Backcountry Ski Pack FAQ
What size backcountry ski backpack do I need for a day tour?
For most single-day ski tours, a 15–30L pack covers the essentials: avalanche safety gear, layers, food, water, and a small first aid kit. If you're doing longer approaches, technical objectives, or carrying rope and hardware, push toward the upper end of that range or beyond.
Where should I store my avalanche shovel and probe in my pack?
Both should be in exterior or easily accessed pockets — not buried in the main compartment under your food and gear. In a rescue, seconds matter. Practice deploying your shovel and probe so you know exactly where they are before you need them.
Do I need a ski-specific pack or will a regular hiking pack work?
A well-built, durable hiking pack with a proper hip belt and good load transfer can work fine for backcountry skiing. What matters most is fit, durability, and how accessible your safety kit is. Dedicated ski features like A-frame ski carry and helmet attachment are useful but not mandatory, especially for skiers who boot-pack or use splitboards.
How do I keep water from freezing in my pack on cold ski days?
Insulated bottle sleeves or an insulated hydration reservoir sleeve help. Keep water bottles in interior pockets closer to your body heat. On very cold days, a wide-mouth Thermos with warm water or hot tea is more reliable than a hydration bladder, which tends to freeze in the hose.
Can the OutThere USA packs handle ski touring conditions?
Yes. The WC-15, WC-30, and 45L are all built with rip-stop nylon or Robic Diamond fabric, water-resistant construction, and hardware that holds up in cold, wet alpine conditions. They've been tested across a range of multi-sport activities including skiing, mountaineering, and adventure racing.

Build Your Setup Before the Season Starts
The backcountry doesn't offer second chances to get your kit right. Take the time before the season opens to dial in your backcountry ski backpack, test your beacon, practice your rescue protocol, and get comfortable with how your pack fits under a ski jacket. The objective is to be so organized that your gear becomes invisible — you're thinking about snow conditions and route decisions, not fumbling for your shovel.
Start with the right foundation. The WC-30 is a strong choice for most all-around backcountry ski days, and the full OutThere USA packs lineup covers everything from fast-and-light hip pack missions to multi-day ski mountaineering expeditions. Get your pack sorted, get your safety kit dialed, and go find the good snow.


Leave a comment
This site is protected by hCaptcha and the hCaptcha Privacy Policy and Terms of Service apply.